Running VulnHub VM's In Proxmox
I sought out a way of running .ova files downloaded from VulnHub on Proxmox. The reason for doing so is twofold: first, I can better isolate the virtual machine on my network and second, my main machine is an M1 MacBook Pro with an ARM based processor. Most virtual machines will be Intel x86 based, and architecture virtualization is slow.
Since I have an existing lab running in Proxmox complete with Kali and Remnux, running the vulnerable VM alongside my other VM’s made the most sense.
The first step is to download the ova file from VulnHub to Proxmox directly or your local machine and scp the file over to Proxmox. For this run, I am using the HackSudo - Thor image. Next, extract the ova file using gzip. I had to first add an extension of .tgz to the ova file for tar to actually extract the archive.
1
2
3
4
# tar xvf hacksudo.ova.tgz
hacksudo - Thor.ovf
hacksudo - Thor-disk001.vmdk
hacksudo - Thor.mf
Once the vmdk is extracted, the next step is to import the virtual disk into a new or existing VM. If you do not yet have a VM, create one with the default settings. Be sure to choose the appropriate network adapter for your environment and leave the VM powered off.
Once the VM is created, head over to the hardware tab and select the hard disk that was created and click the detach button and then delete. Note the ID of the VM for the next step.
Back on the command line, import the vmdk into the VM that was just created. For me, I am importing the ‘hacksudo - Thor-disk001.vmdk’ file into virtual machine ID 204 and using the ‘local’ storage as a backing.
1
qm importdisk 204 'hacksudo - Thor-disk001.vmdk' local -format qcow2
The name of the storage volume may differ in your environment, use the command pvesm status to list out what storage is available.
The newly imported disk needs to be enabled and set as the default boot option. To enable the disk, head over to the ‘Hardware’ tab option in the VM. Select ‘Unused Disk 0’ from the list and click edit. A menu will pop up where you can change the bus and device ID. The defaults are fine here so click the add button.

Change the boot order under the ‘Options’ tab, enabling the boot option for the newly imported disk. The other options here can be de-selected.

Once the disk import is complete, the next step is to power the VM on. In my case the ‘hacksudo - Thor’ VM did not attempt to obtain an IP address from my DHCP server, which is running on a separate VM inside Proxmox. I tried using different network adapter virtualization options, but none of these worked for me.
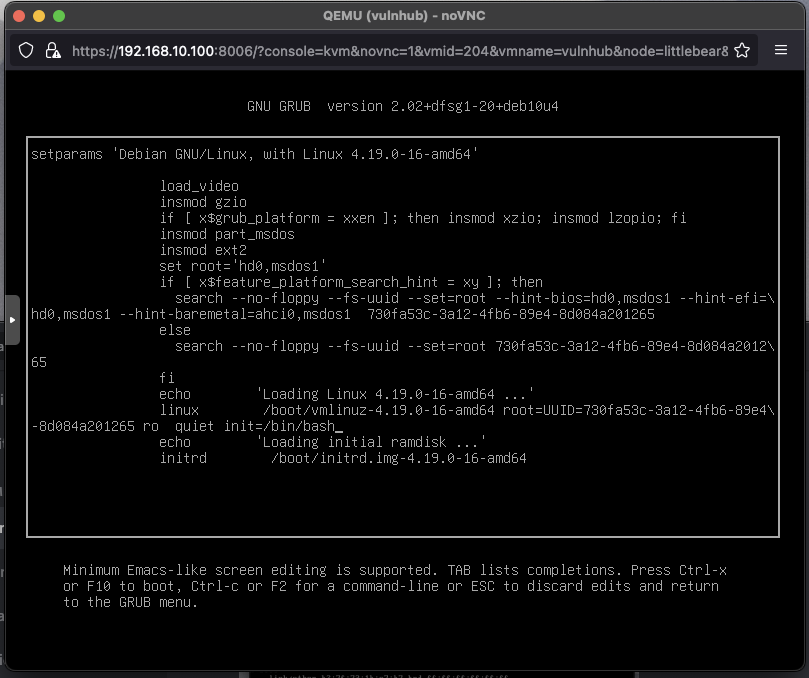
In order to troubleshoot, I needed access to the VM. Since the password is not provided, I had to open up the virtual console, reboot the VM, edit the grub menu to force the VM to boot into single-user mode. This can vary a bit based on the underlying Operating System, but for me I added init=/bin/bash to the end of the line starting with ‘linux’.
Once I was logged into single-user mode, I had to remount the root filesystem to be read-write instead of read-only. This was done by executing mount -o remount,rw /

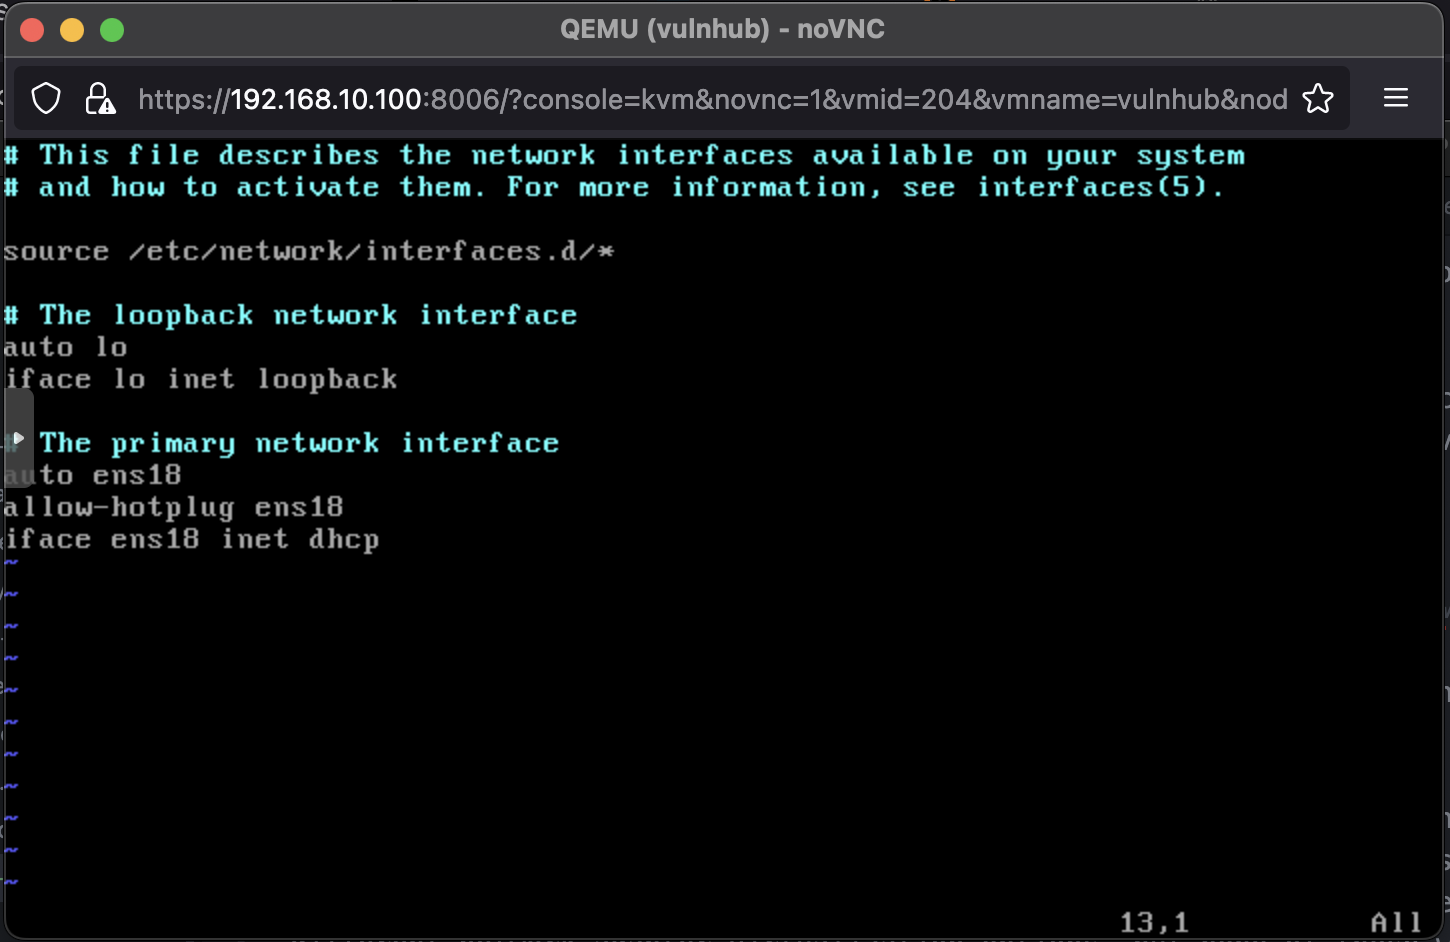
Once the root filesystem is read-write, determine the name of the interface by running ip addr. Next, edit the /etc/network/interfaces file with your favorite text editor. Go ahead, use emacs I won’t judge.
For me, I had to change the interface name from enp0s3 to ens18 on two lines and add the line auto ens18. This allows the interface to start up automatically on boot. The resulting interface file looked as follows:
Save and edit the file and perform a hard reboot of the VM through Proxmox. If successful, you should see DHCP request/offer and an IP assigned to the VM.
1
2
3
Sep 19 09:39:06 malware dhcpd[21390]: DHCPOFFER on 10.1.1.10 to b2:7f:73:1b:c7:b7 (HacksudoThor) via ens19
Sep 19 09:39:06 malware dhcpd[21390]: DHCPREQUEST for 10.1.1.10 (10.1.1.1) from b2:7f:73:1b:c7:b7 (HacksudoThor) via ens19
Sep 19 09:39:06 malware dhcpd[21390]: DHCPACK on 10.1.1.10 to b2:7f:73:1b:c7:b7 (HacksudoThor) via ens19
Happy hacking.
Comments powered by Disqus.