Working with httpscreenshot
Red/Blue teaming with python
Overview
As part of reconnaissance stage of a pentest, you may wish to capture home pages of an organizations’ websites. One option to do just that is HTTPscreenshot. HTTPscreenshot has been touted to be a tool for both red and blue teams. This tool was released at SchmooCon 2015, developed by Justin Kennedy and Steve Breen.
Setup
This guide was written using a Debian 7.8 Virtual Machine. Debian/Ubuntu based operating system is recommended as apt-get commands are part of the install script.
- Install git if you haven’t done so already.
1
# apt-get install git - Download the source code from GitHub:
1
# git clone https://github.com/breenmachine/httpscreenshot.git - Install the dependencies using the included shell script.
1
2
 # cd httpscreenshot
 # ./install-dependecies.sh
-
Note, swig3.0 could not be found at the time of this writing. I manually installed Swig with apt-get and removed swig and swig3.0 from the install-dependecies script.
-
Create a flat file using vi or nano with a list of websites you would like to have scraped.
-
Websites that are scraped include a png and an html file which can be used to grep through for specific content.
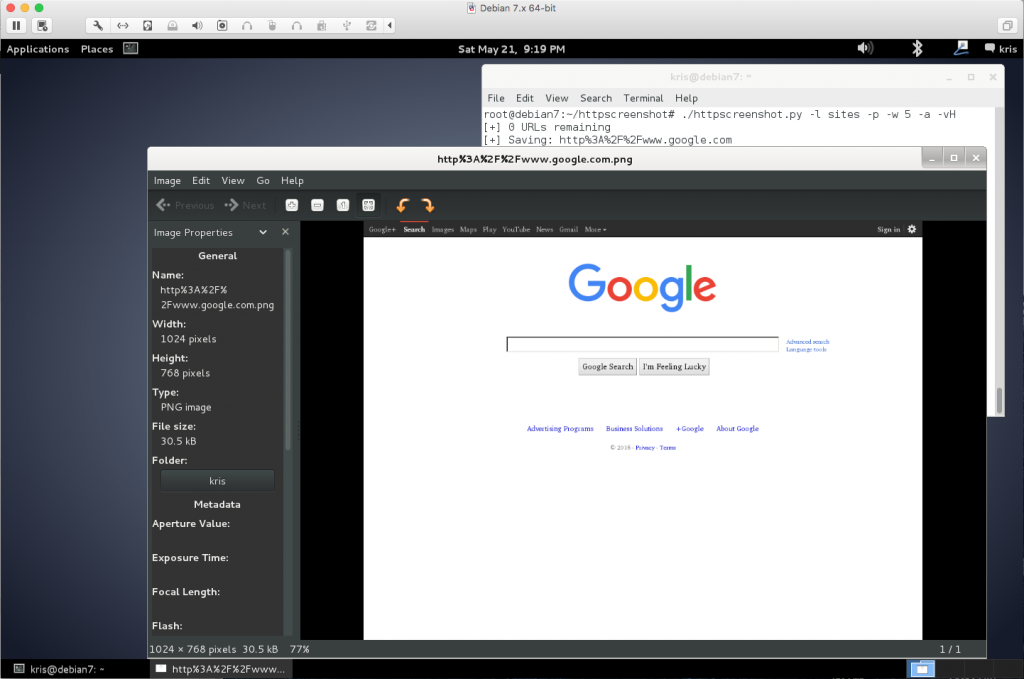
- My first attempt was to scrape Google.
1
2
 # ./httpscreenshot.py -l sites -p -w 5 -a -vH
 [+] 0 URLs remaining
A full usage list is also provided for reference here:
1
2
3
4
5
6
7
8
9
10
11
12
13
14
15
16
17
18
19
20
21
22
23
24
25
26
27
28
29
30
31
32
usage: httpscreenshot.py [-h] [-l LIST] [-i INPUT] [-p] [-w WORKERS]
                         [-t TIMEOUT] [-v] [-a] [-vH] [-dB DNS_BRUTE]
                         [-uL URI_LIST] [-r RETRIES] [-tG] [-sF] [-pX PROXY]

optional arguments:
  -h, --help            show this help message and exit
  -l LIST, --list LIST  List of input URLs
  -i INPUT, --input INPUT
                        nmap gnmap output file
  -p, --headless        Run in headless mode (using phantomjs)
  -w WORKERS, --workers WORKERS
                        number of threads
  -t TIMEOUT, --timeout TIMEOUT
                        time to wait for pageload before killing the browser
  -v, --verbose         turn on verbose debugging
  -a, --autodetect      Automatically detect if listening services are HTTP or
                        HTTPS. Ignores NMAP service detction and URL schemes.
  -vH, --vhosts         Attempt to scrape hostnames from SSL certificates and
                        add these to the URL queue
  -dB DNS_BRUTE, --dns_brute DNS_BRUTE
                        Specify a DNS subdomain wordlist for bruteforcing on
                        wildcard SSL certs
  -uL URI_LIST, --uri_list URI_LIST
                        Specify a list of URIs to fetch in addition to the
                        root
  -r RETRIES, --retries RETRIES
                        Number of retries if a URL fails or timesout
  -tG, --trygui         Try to fetch the page with FireFox when headless fails
  -sF, --smartfetch     Enables smart fetching to reduce network traffic, also
                        increases speed if certain conditions are met.
  -pX PROXY, --proxy PROXY
                        SOCKS5 Proxy in host:port format
Bonus Content
I tried my hand at getting HTTPscreenshot to run on CentOS version 7. It took a bit of trial and error, but I am satisfied with the result. The following steps assume a base install of CentOS 7 64-bit.
- Install git and download the source script
1
2
 # yum install git
 # git clone https://github.com/breenmachine/httpscreenshot.git
- The core script is written in python, so we need to install the required python libraries. Install epel-release and perform a repo refresh.
1
2
 # yum install epel-release
 # yum repolist
- Also, install development headers for various libraries and a complier.
1
# yum install python-devel libjpeg-devel zlib-devel gcc - Next, install pip a package manager for Python as well as Swig and OpenSSL (required for M2Crypto).
1
# yum install python-pip swig openssl openssl-devel.x86_64 - Python packages to make HTTPscreenshot go are installed next. Note that this can also be done in a venv.
1
 # pip install selenium Pillow M2Crypto requesocks
- Lastly, download and extract phantomjs
1
2
3
 # wget https://bitbucket.org/ariya/phantomjs/downloads/phantomjs-1.9.8-linux-x86_64.tar.bz2
 # tar xvf phantomjs-1.9.8-linux-x86_64.tar.bz2
 # mv phantomjs-1.9.8-linux-x86_64/bin/phantomjs /usr/bin/phantomjs
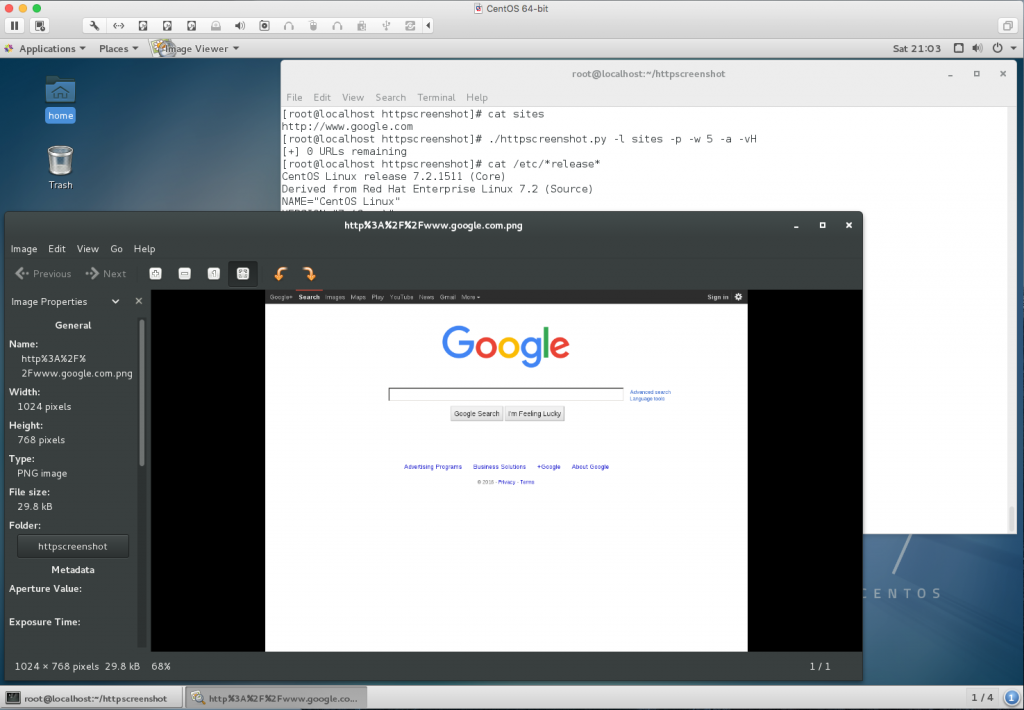
- Now its time to scrape some websites. I will default to the old standby of Google.
Conclusion
HTTPscreenshot is a powerful tool to perform information gathering in a more automated fashion. I recommend following both Justin and Steve on Twitter.


Comments powered by Disqus.